Deploying YOLOv5-6.0 on Jetson Nano
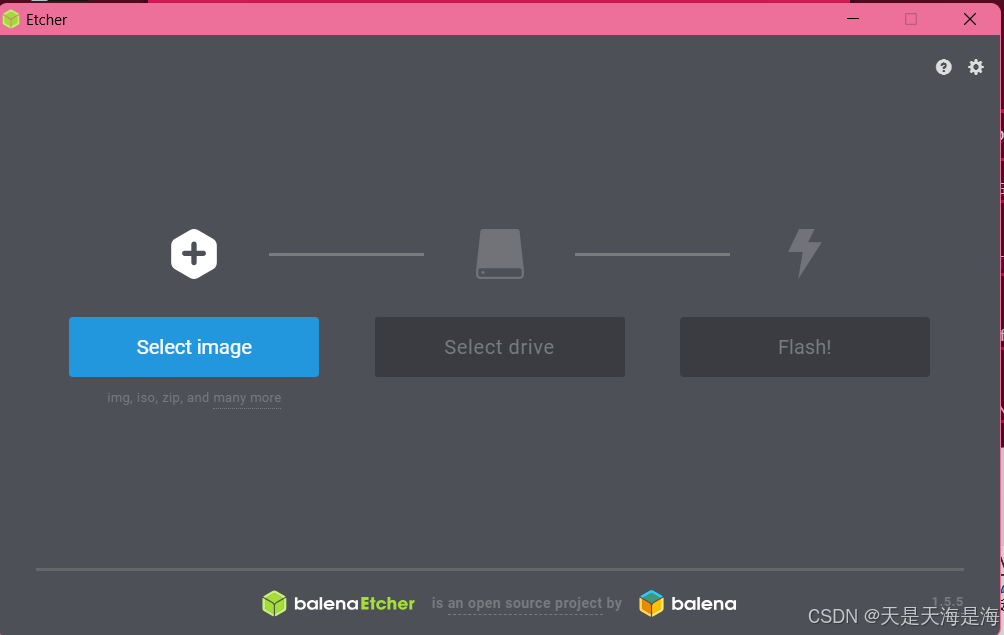
1. Format SD Card and Flash Image
2. Download PyTorch and Torchvision Packages
Download the appropriate versions of PyTorch and Torchvision for your system from the officila PyTorch website.
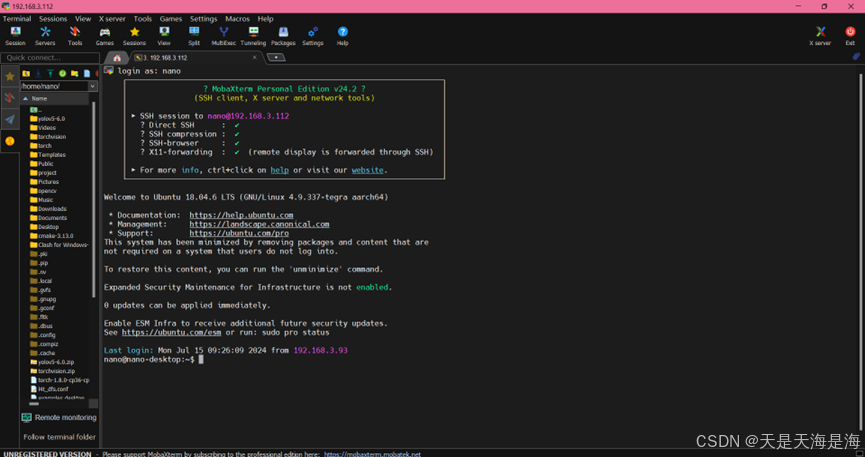
3. Set Up Remote Access with MobaXterm
Use MobaXterm for remote control and file transfer to the Jetson Nano.
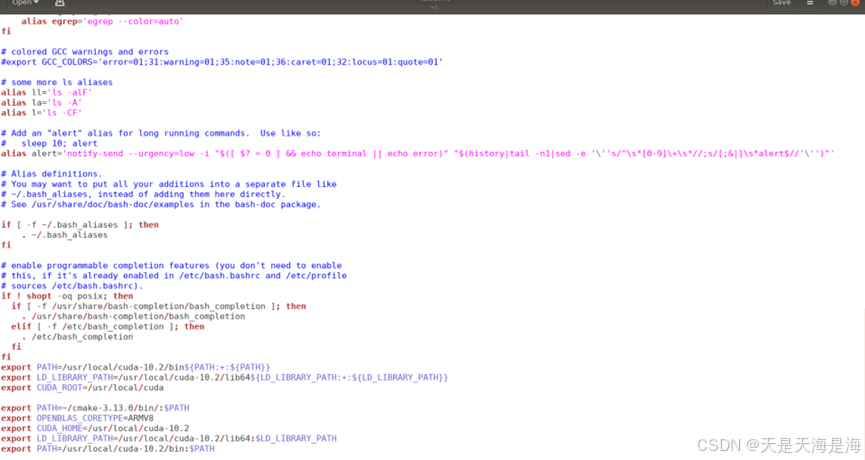
4. Configure CUDA
Open the bash configuration file:
sudo gedit ~/.bashrc
Add the following lines at the end:
export CUDA_HOME=/usr/local/cuda-10.2
export LD_LIBRARY_PATH=/usr/local/cuda-10.2/lib64:$LD_LIBRARY_PATH
export PATH=/usr/local/cuda-10.2/bin:$PATH
Save and exit, then apply the changes and verify the CUDA version:
source ~/.bashrc
nvcc -V
Check the current swap space:
free -h

Increase swap space by editing the configuration file:
sudo gedit /etc/systemd/nvzramconfig.sh
Change 1024 to 4096, save, and reboot the system:
sudo reboot
Verify the updated swap space:
free -h

5. Update System and Install Dependencies
Update the system and install necessayr packages:
sudo apt-get update
sudo apt-get upgrade
sudo apt-get dist-upgrade
sudo apt-get install python3-pip libopenblas-base libopenmpi-dev
pip3 install --upgrade pip
6. Install PyTorch
Navigate to the directory containing the PyTorch wheel file and install it:
pip install torch-1.8.0-cp36-cp36m-linux_aarch64.whl
sudo apt-get install libjpeg-dev libpython3-dev libavcodec-dev libavformat-dev libswscale-dev
sudo apt install python3-numpy
pip install Cython
export OPENBLAS_CORETYPE=ARMV8
Verify the installation:
python3
import torch
print(torch.__version__)
7. Install Torchvision
Navigate to the Torchvision directory and install it:
sudo apt-get install libjpeg8 libjpeg62-dev libfreetype6 libfreetype6-dev
export BUILD_VERSION=0.9.0
python3 setup.py install --user
Verify the installation:
python3
import torchvision
print(torchvision.__version__)
8. Install YOLOv5-6.0
Upload the YOLOv5-6.0 files and install the required dependencies:
cd yolov5-6.0
pip install -r requirements.txt
This completes the installation process.
