Internationalization in Flutter
Overview
Today, we'll explore how to implement internationalization in a Flutter application using the simplest and fastest methods. We'll start from a basic Flutter project and walk through the steps to add multi-language support.
Method 1: Using GetX (Recommended)
Create a new Flutter project and follow these steps to enable internationalization with GetX.
1. Install GetX
Add the GetX dependency to your pubspec.yaml:
dependencies:
  get:
2. Create Translation Files
Internationalized strings are stored as key-value pairs in a map. Create a custom class that extends Translations:
import 'package:get/get.dart';

class AppTranslations extends Translations {
  @override
  Map<String, Map<String, String>> get keys => {
        'zh_CN': {
          'hello': '你好 世界',
        },
        'de_DE': {
          'hello': 'Hallo Welt',
        },
        'en_US': {
          'hello': 'Hello World',
        }
      };
}
3. Use Internationalized Strings
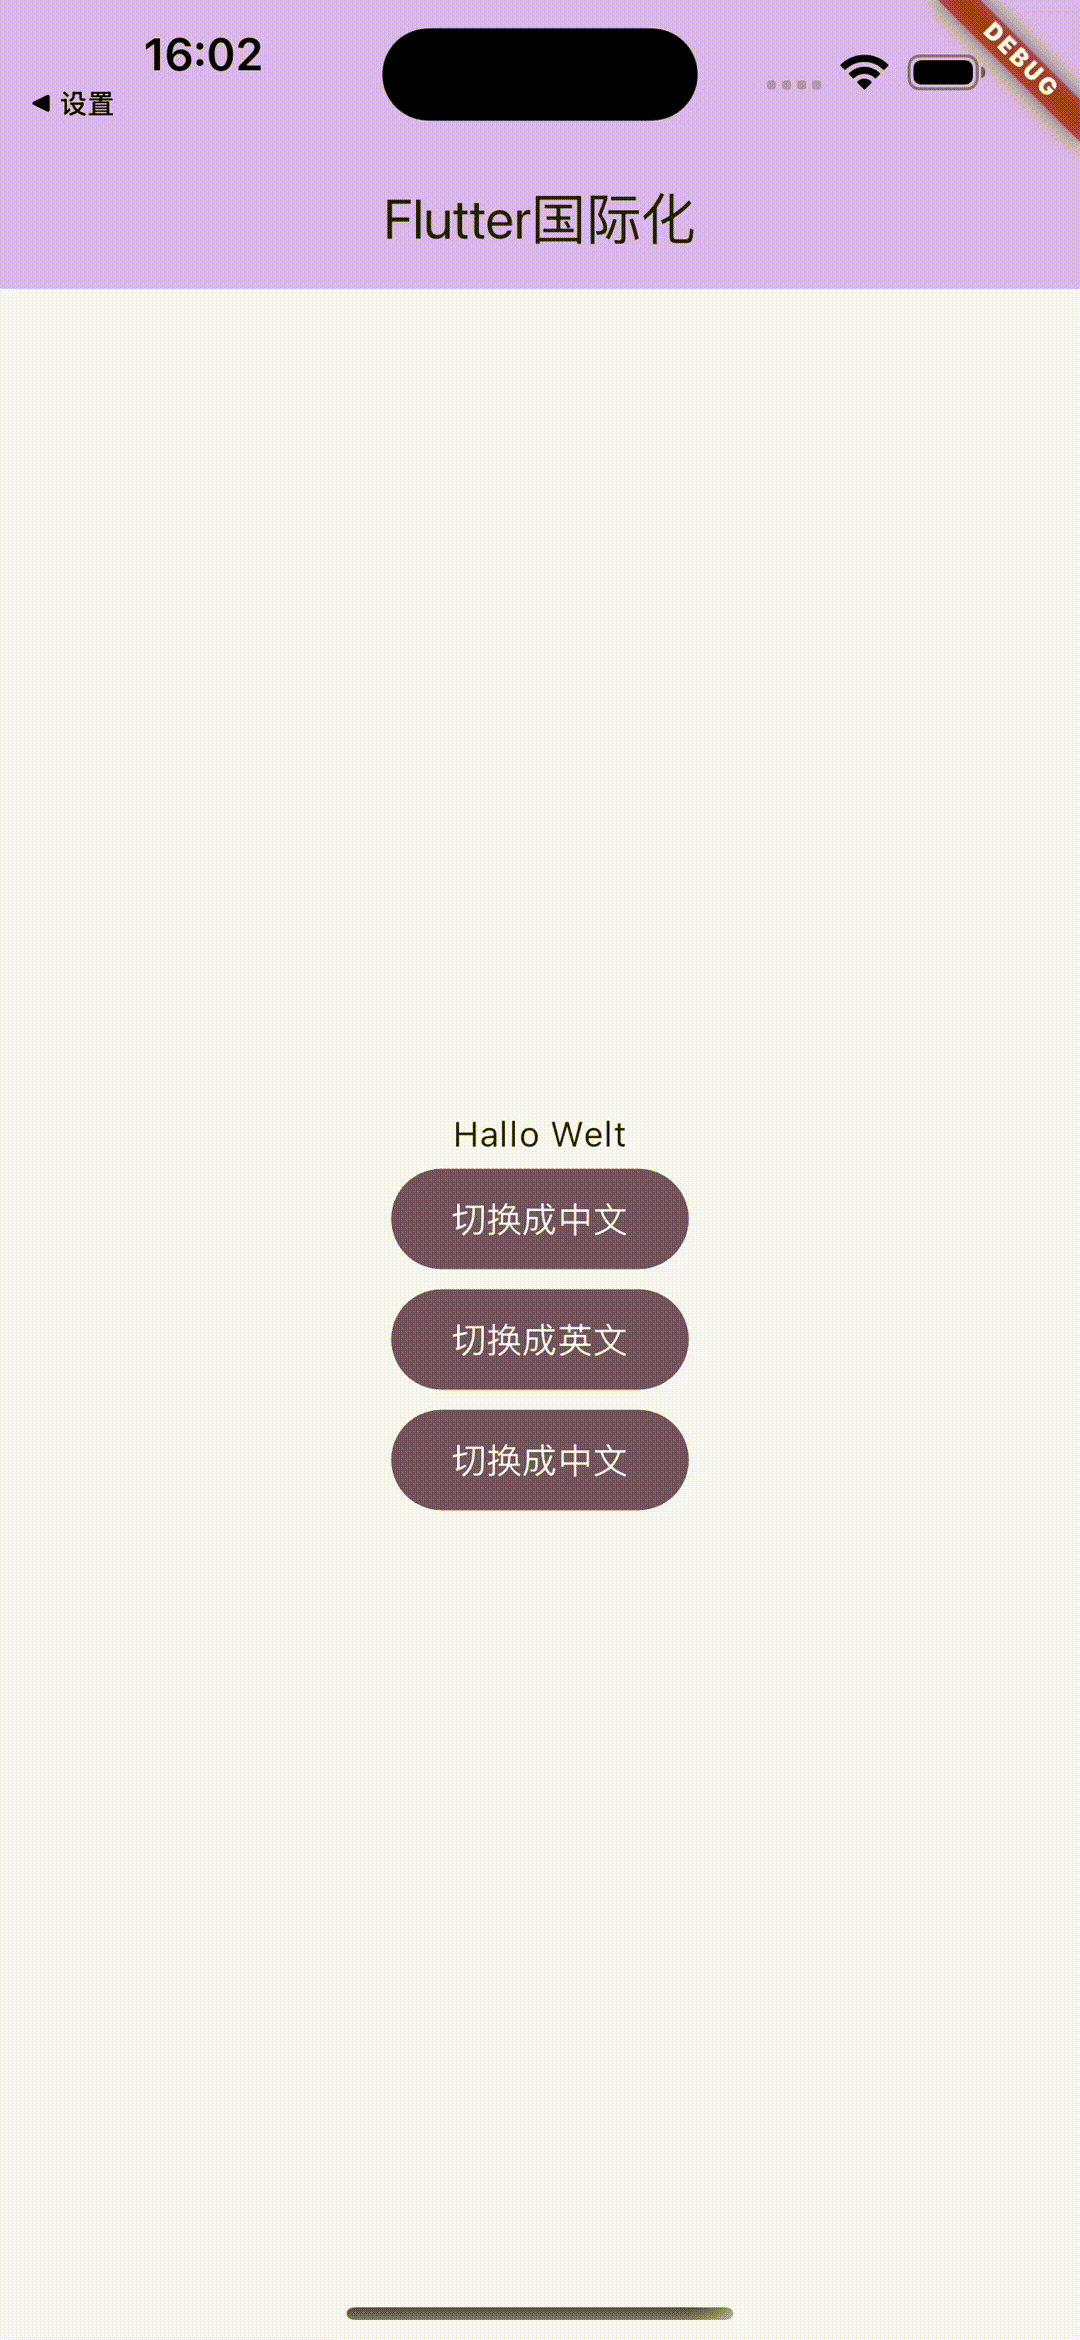
Using a translated string is straightforward: append .tr to the string key.
Text('hello'.tr);
4. Configure GetMaterialApp
Set up GetMaterialApp with your translations and locale:
return GetMaterialApp(
  translations: AppTranslations(), // Your translations
  locale: Locale('zh', 'CN'), // Default locale
  fallbackLocale: Locale('en', 'US'), // Fallback if translation missing
);
5. Change Language Dynamically
You can change the language at runtime:
var newLocale = Locale('en', 'US');
Get.updateLocale(newLocale);
6. Use System Language
To read the system locale, you can use window.locale:
import 'dart:ui' as ui;

return GetMaterialApp(
  locale: ui.window.locale,
);
7. Platform-Specific Configuration
iOS Configuraiton
- Open your iOS project in Xcode, go to Project > Info, and add the languages you support.
- Create a
String File(e.g.,Localizable.strings) for each language.
Android Configuration
For Android, create values-<locale> folders under res with strings.xml files.
8. Example Project
An example demonstrating this approach can be found in the accompanying demo.
Method 2: Using Flutter Intl
1. Install Intl Plugin
Add the flutter_localizations and intl dependencies:
dependencies:
  flutter:
    sdk: flutter
  flutter_localizations:
    sdk: flutter
  intl: ^0.17.0
2. Configuer flutter_localizations
In your pubspec.yaml, add:
dependencies:
  flutter_localizations:
    sdk: flutter
3. Initialize the Project with Intl Plugin
Run the following command in your terminal:
flutter pub run intl_translation:initialize
4. Add Supported Languages
Modify your App widget to include localizations delegates and supported locales:
import 'package:flutter_localizations/flutter_localizations.dart';

MaterialApp(
  localizationsDelegates: [
    GlobalMaterialLocalizations.delegate,
    GlobalWidgetsLocalizations.delegate,
    GlobalCupertinoLocalizations.delegate,
  ],
  supportedLocales: [
    const Locale('en', 'US'),
    const Locale('zh', 'CN'),
  ],
  locale: ...,
)
5. Internationalized Strings
Create an ARB file (e.g., lib/l10n/intl_en.arb) with translations.
6. Configure Language Switching
To switch language, update the locale property of your app state.
7. Use Strings
import 'package:intl/intl.dart' show Intl;

Text(Intl.message('hello', name: 'hello', desc: 'Greeting'));
8. Complete Example Code
Refer to the official documentation for a complete example.
