Automating Private NuGet Package Publishing in .NET Core
This guide covers two scenarios: publishing a single NuGet package and batch publishing multiple packages.
Single Package Publishing
First, let's look at the configuraton example:
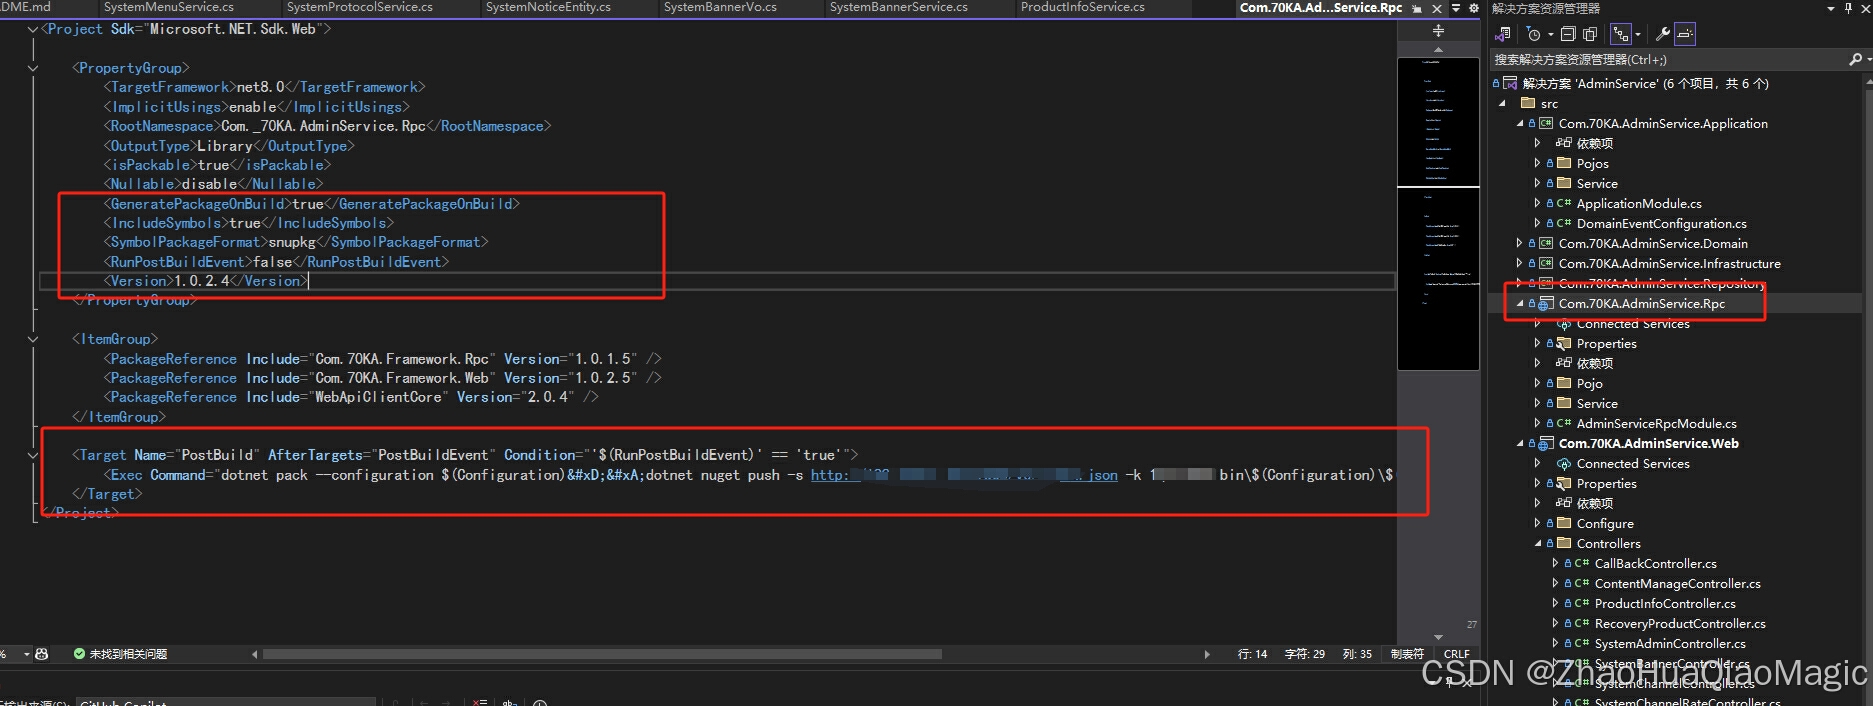
Explanation of the highlighted code:
<IsPackable>true</IsPackable> <!-- Generate the package -->
<GeneratePackageOnBuild>true</GeneratePackageOnBuild> <!-- Auto-generate package on build -->
<IncludeSymbols>true</IncludeSymbols>
<SymbolPackageFormat>snupkg</SymbolPackageFormat> <!-- Symbol package format -->
<AutoPublishOnBuild>false</AutoPublishOnBuild> <!-- Custom property to control auto-publishing, explained later -->
<Version>1.0.2.4</Version> <!-- Package version -->

<Target Name="PostBuild" AfterTargets="PostBuildEvent" Condition="'$(AutoPublishOnBuild)' == 'true'">
  <Exec Command="dotnet pack --configuration $(Configuration)
dotnet nuget push -s <private-nuget-url> -k <api-key> bin\$(Configuration)\$(ProjectName).$(Version).nupkg" />
</Target>
We use the .NET post-build event (PostBuildEvent) to execute commands that pack and push the package to your private NuGet server. The condition Condition="'$(AutoPublishOnBuild)' == 'true'" checks our custom property. When set to true, the package is automatically published on each build; when false, it is skipped.
Note: Remember to set
AutoPublishOnBuildback tofalseafter publishing, otherwise every build will attempt to publish (and may fail if the version hasn't changed).
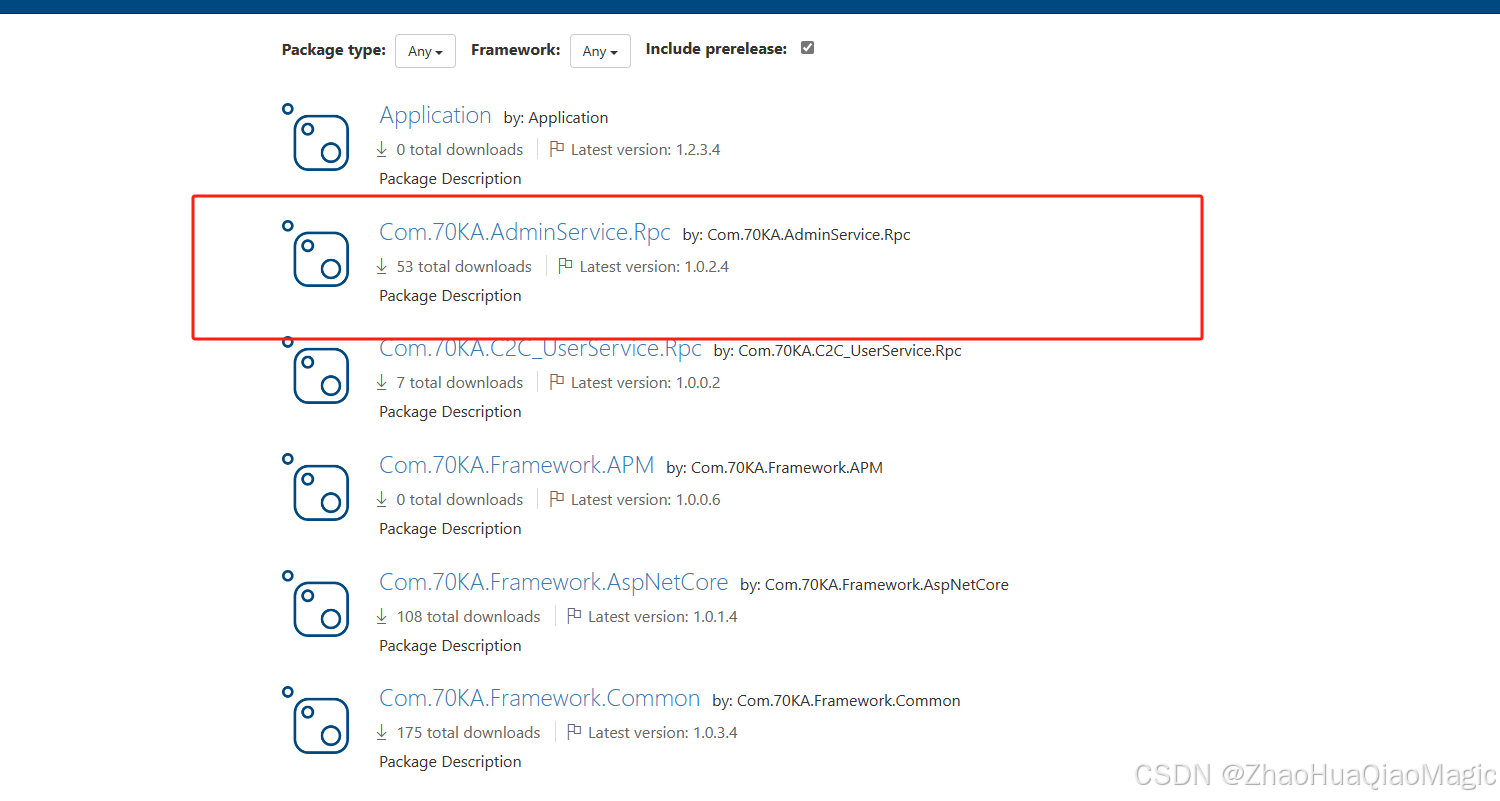
That's it for a single package. To publish a new version, just increment the version number (e.g., from 1.0.2.4 to 1.0.2.5), set AutoPublishOnBuild to true, and rebuild. After successful publishing, set it back to false.
Publishing result example:
Batch Package Publishing
The principle is the same. Add the above XML configuration to each project you want to publish. Then create two PowerShell scripts to automate version increment and toggle the auto-publish flag.
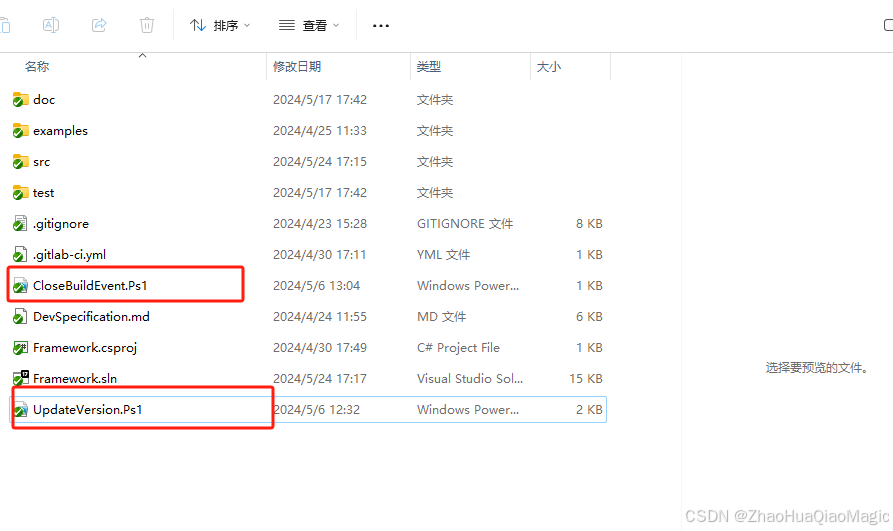
UpdateVersion.ps1
This script icnrements the build number of the version and sets AutoPublishOnBuild to true for all .csproj files under the src folder.
$folderPath = Join-Path -Path $PSScriptRoot -ChildPath "src"  # Replace with your class library folder

$projects = Get-ChildItem -Path $folderPath -Filter *.csproj -Recurse

foreach ($project in $projects) {
    $projectFilePath = $project.FullName

    # Load the project file
    $projectXml = [xml](Get-Content -Path $projectFilePath)

    # Get current version
    $currentVersion = $projectXml.Project.PropertyGroup.Version

    # Parse version parts
    $versionParts = $currentVersion -split '\.'
    $major = [int]$versionParts[0]
    $minor = [int]$versionParts[1]
    $revision = [int]$versionParts[2]
    $build = [int]$versionParts[3]

    # Increment build number
    $build++

    # Build new version string
    $newVersion = "$major.$minor.$revision.$build"
    $projectXml.Project.PropertyGroup.Version = $newVersion

    # Enable auto-publish
    $projectXml.Project.PropertyGroup.AutoPublishOnBuild = "true"

    # Save changes
    $projectXml.Save($projectFilePath)
}
ResetAutoPublish.ps1
This script sets AutoPublishOnBuild back to false for all proejcts after publishing.
$folderPath = Join-Path -Path $PSScriptRoot -ChildPath "src"  # Replace with your class library folder

$projects = Get-ChildItem -Path $folderPath -Filter *.csproj -Recurse

foreach ($project in $projects) {
    $projectFilePath = $project.FullName

    # Load the project file
    $projectXml = [xml](Get-Content -Path $projectFilePath)

    # Disable auto-publish
    $projectXml.Project.PropertyGroup.AutoPublishOnBuild = "false"

    # Save
    $projectXml.Save($projectFilePath)
}
Workflow
- Run
UpdateVersion.ps1to increment versions and enable auto-publish. - Rebuild the solution (all projects will be packed and pushed).
- Run
ResetAutoPublish.ps1to disable auto-publish.
That's all. This approach gives you full control over when to publish updates.
Note on PowerShell execution policy: Many Windows systems restrict script execution. To run these scripts, you may need to adjust the execution policy. Run PowerShell as Administrator and execute:
Set-ExecutionPolicy RemoteSignedOr, to allow only the current script, use:
Unblock-File -Path "D:\YourPath\UpdateVersion.ps1"Replace the path with your actual script location.
This method provides a convenient way to manage NuGet package versions without manual intervention.
